Histograms
Matplotlib Basics
1 min read
This section is 1 min read, full guide is 24 min read
Published Oct 5 2025, updated Aug 17 2026
15
Show sections list
0
Log in to enable the "Like" button
0
Guide comments
0
Log in to enable the "Save" button
Respond to this guide
Guide Sections
Guide Comments
ChartsGraphsMatplotlibNumPyPandasPythonVisualisation
A histogram visualises the distribution of numerical data — it shows how many data points fall into a range of values (called bins).
Instead of plotting individual points, it groups values and displays the frequency in vertical bars.
Syntax:
plt.hist(x, bins=None, range=None, density=False, color=None, edgecolor=None, alpha=None, histtype='bar')Parameters:
x= Data to plotbins= Number of bins (int) or explicit bin edgesrange= Lower and upper range of binsdensity= Normalise histogram (area = 1)color= Fill colouredgecolor= Outline coloralpha= Transparencyhisttype= Type of histogram: 'bar', 'step', 'stepfilled'label= Legend label
Basic histogram example
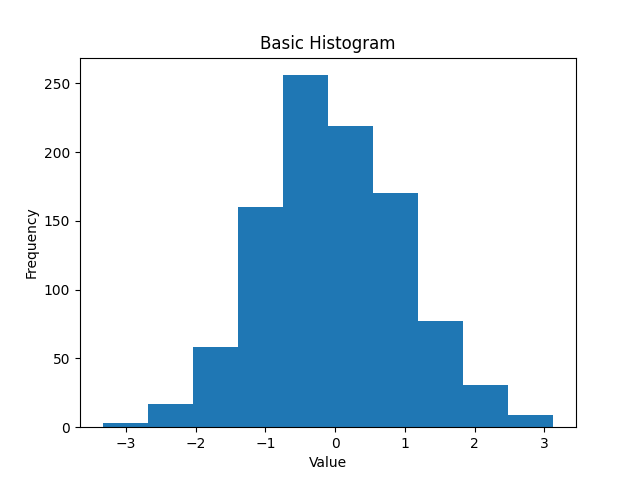
import matplotlib.pyplot as pltimport numpy as npdata = np.random.randn(1000)plt.hist(data)plt.title("Basic Histogram")plt.xlabel("Value")plt.ylabel("Frequency")plt.show()This automatically chooses 10 bins by default.
Custom number of bins
import matplotlib.pyplot as pltimport numpy as npdata = np.random.randn(1000)plt.hist(data, bins=20, color='skyblue', edgecolor='black')plt.title("Histogram with 20 Bins")plt.show()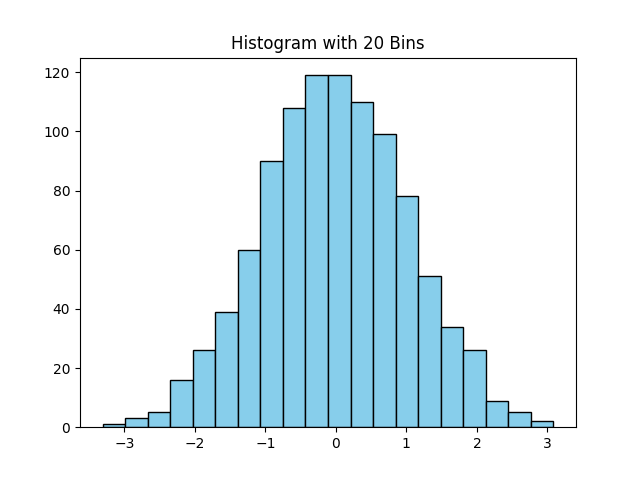
Define custom bin edges
You can define the exact cut points:
import matplotlib.pyplot as pltimport numpy as npdata = np.random.randn(1000)bins = [-3, -2, -1, 0, 1, 2, 3]plt.hist(data, bins=bins, color='salmon', edgecolor='black')plt.title("Custom Bin Edges")plt.show()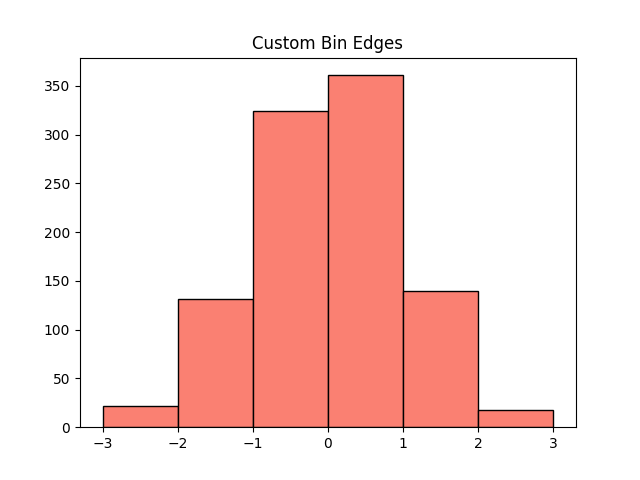
Change Colour and Edge
import matplotlib.pyplot as pltimport numpy as npdata = np.random.randn(1000)plt.hist(data, bins=15, color='orange', edgecolor='blue')plt.title("Styled Histogram")plt.show()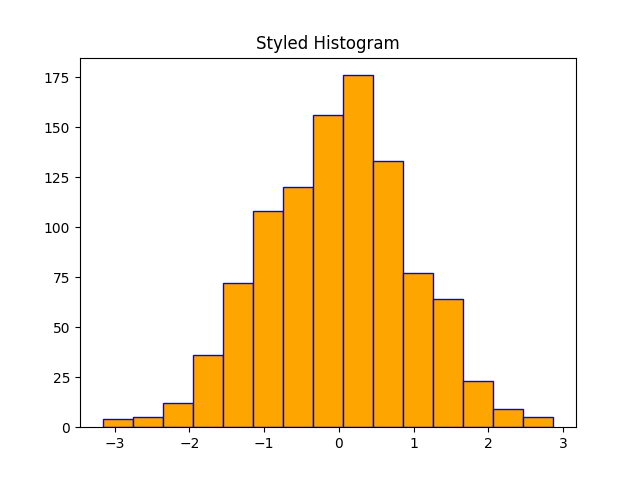
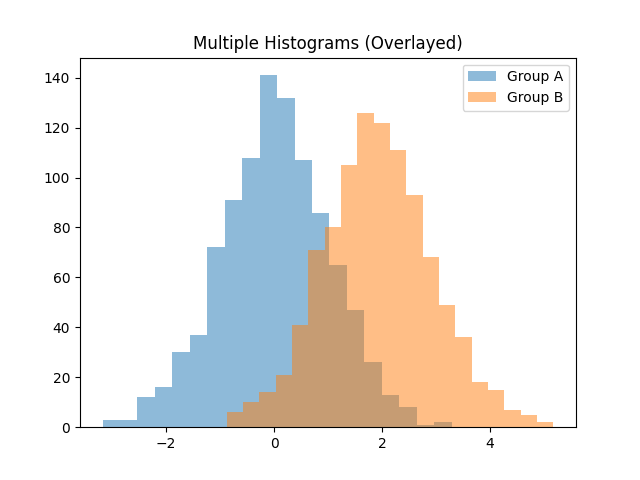
Multiple histograms on the same plot
You can overlay histograms to compare distributions:
import matplotlib.pyplot as pltimport numpy as npdata1 = np.random.normal(0, 1, 1000)data2 = np.random.normal(2, 1, 1000)plt.hist(data1, bins=20, alpha=0.5, label='Group A')plt.hist(data2, bins=20, alpha=0.5, label='Group B')plt.legend()plt.title("Multiple Histograms (Overlayed)")plt.show()Use alpha for transparency so both remain visible.
Stacked Histograms
Stack multiple datasets to see combined distribution:
import matplotlib.pyplot as pltimport numpy as npdata1 = np.random.normal(0, 1, 1000)data2 = np.random.normal(2, 1, 1000)plt.hist([data1, data2], bins=20, stacked=True, color=['skyblue', 'lightcoral'], label=['Group A', 'Group B'])plt.legend()plt.title("Stacked Histogram")plt.show()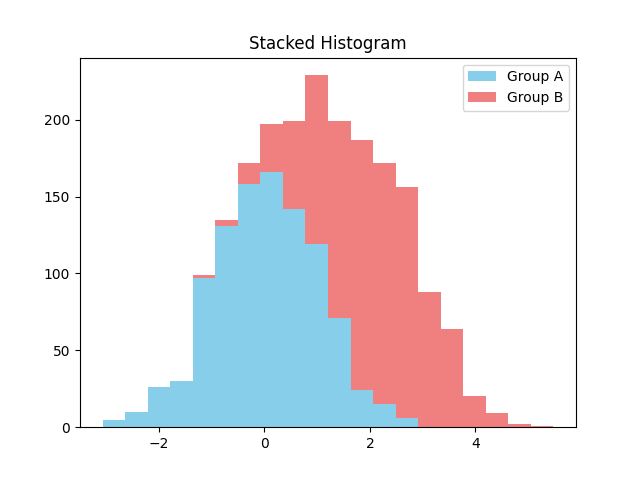
Step and step-filled styles
Step:
import matplotlib.pyplot as pltimport numpy as npdata = np.random.randn(1000)plt.hist(data, bins=30, histtype='step', color='navy', linewidth=2)plt.title("Step Histogram")plt.show()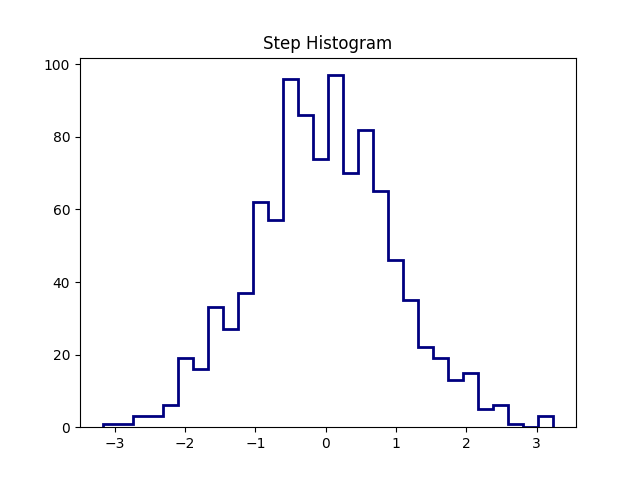
Step Filled:
import matplotlib.pyplot as pltimport numpy as npdata = np.random.randn(1000)plt.hist(data, bins=30, histtype='stepfilled', color='lightgreen', alpha=0.7)plt.title("Step-Filled Histogram")plt.show()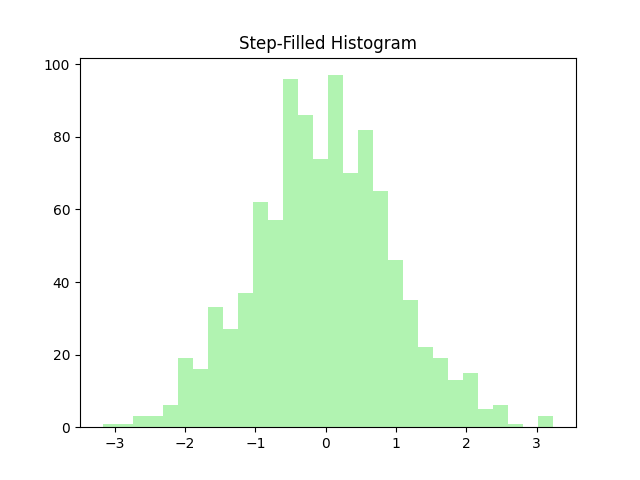
Normalised histogram (density plot)
If you want the area under the curve = 1, use density=True. This is common for probability distributions.
import matplotlib.pyplot as pltimport numpy as npdata = np.random.randn(1000)plt.hist(data, bins=30, density=True, color='plum', edgecolor='black')plt.title("Normalised Histogram (Density=True)")plt.ylabel("Probability Density")plt.show()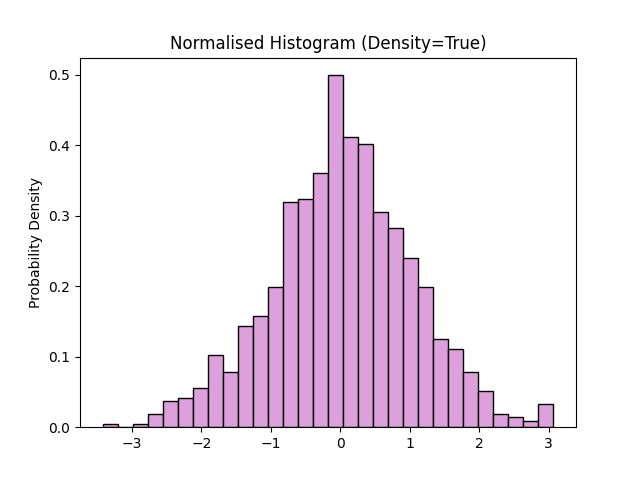
Cumulative Histogram
To show cumulative frequencies.
import matplotlib.pyplot as pltimport numpy as npdata = np.random.randn(1000)plt.hist(data, bins=30, cumulative=True, color='lightblue', edgecolor='black')plt.title("Cumulative Histogram")plt.show()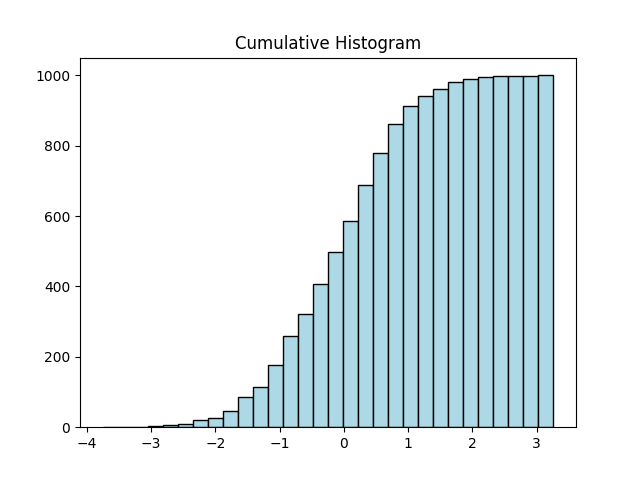
Horizontal histogram
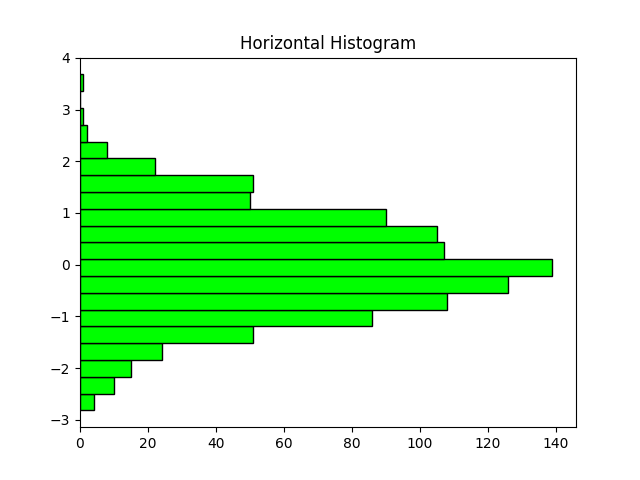
import matplotlib.pyplot as pltimport numpy as npdata = np.random.randn(1000)plt.hist(data, bins=20, orientation='horizontal', color='lime', edgecolor='black')plt.title("Horizontal Histogram")plt.show()