Pie charts
Matplotlib Basics
2 min read
This section is 2 min read, full guide is 24 min read
Published Oct 5 2025, updated Aug 17 2026
15
Show sections list
0
Log in to enable the "Like" button
0
Guide comments
0
Log in to enable the "Save" button
Respond to this guide
Guide Sections
Guide Comments
ChartsGraphsMatplotlibNumPyPandasPythonVisualisation
A pie chart divides a circle into wedges (slices), where each slice’s size represents its proportion of the total. It’s ideal for showing relative percentages or part-to-whole relationships.
Syntax:
plt.pie(x, labels=None, colors=None, autopct=None, startangle=None, shadow=False, explode=None, counterclock=True)Parameters:
x= Data values (list, array, or Series)labels= Names for each wedgecolors= Slice coloursautopct= Format string to display % valuesstartangle= Rotation of the start angle (degrees)shadow= Adds a drop shadowexplode= Offsets slices outwardcounterclock= If True, slices are drawn counterclockwiselabeldistance,pctdistance= Control label and % text distance
Basic example
import matplotlib.pyplot as pltsizes = [30, 45, 15, 10]labels = ['Apples', 'Bananas', 'Cherries', 'Dates']plt.pie(sizes, labels=labels)plt.title("Basic Pie Chart")plt.show()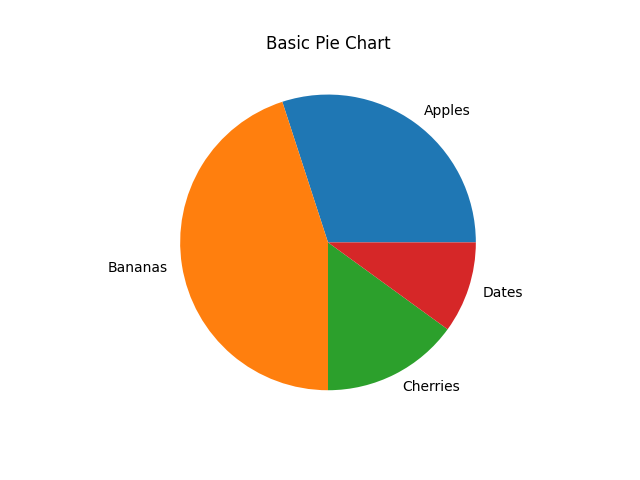
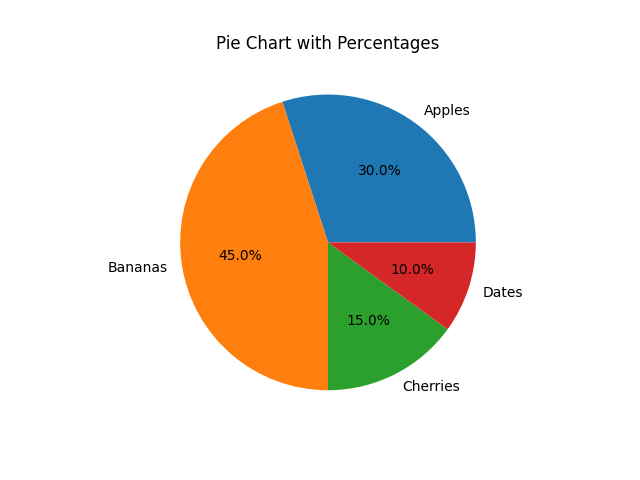
Add percentage labels
import matplotlib.pyplot as pltsizes = [30, 45, 15, 10]labels = ['Apples', 'Bananas', 'Cherries', 'Dates']plt.pie(sizes, labels=labels, autopct='%1.1f%%')plt.title("Pie Chart with Percentages")plt.show()%1.1f%% → 1 decimal place percentage (e.g., 45.3%)
Customise colours
You can use named colours, hex codes, or colour maps.
import matplotlib.pyplot as pltsizes = [30, 45, 15, 10]labels = ['Apples', 'Bananas', 'Cherries', 'Dates']colors = ['#ff9999','#66b3ff','#99ff99','#ffcc99']plt.pie(sizes, labels=labels, colors=colors, autopct='%1.1f%%')plt.title("Custom Colours")plt.show()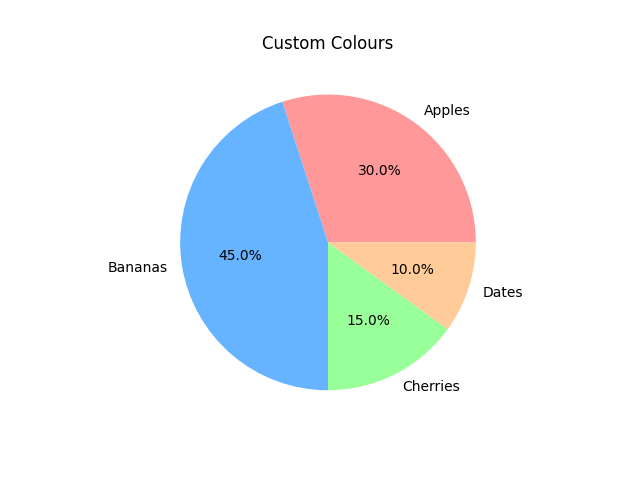
Explode (offset) a slice
Use explode to “pop out” one or more slices for emphasis:
import matplotlib.pyplot as pltsizes = [30, 45, 15, 10]labels = ['Apples', 'Bananas', 'Cherries', 'Dates']# Explode the first slice (Apples)explode = [0.1, 0, 0, 0]plt.pie(sizes, labels=labels, explode=explode, autopct='%1.1f%%')plt.title("Pie Chart with Exploded Slice")plt.show()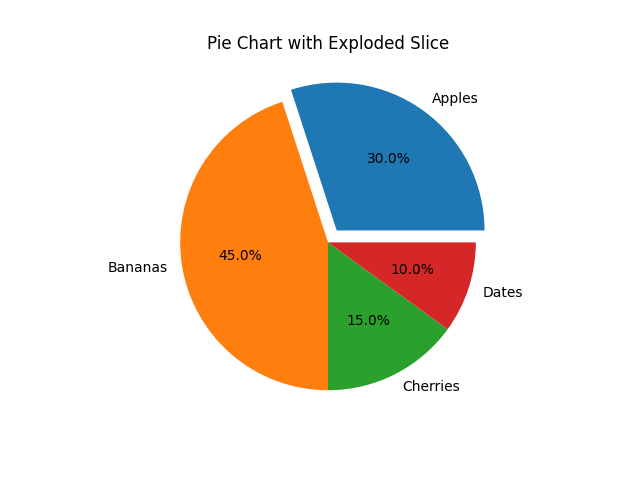
Start Angle and Direction
- Use
startangleto rotate the pie. - Use
counterclock=Falseto reverse direction.
import matplotlib.pyplot as pltsizes = [30, 45, 15, 10]labels = ['Apples', 'Bananas', 'Cherries', 'Dates']plt.pie(sizes, labels=labels, autopct='%1.1f%%', startangle=90, counterclock=False)plt.title("Rotated Pie Chart")plt.show()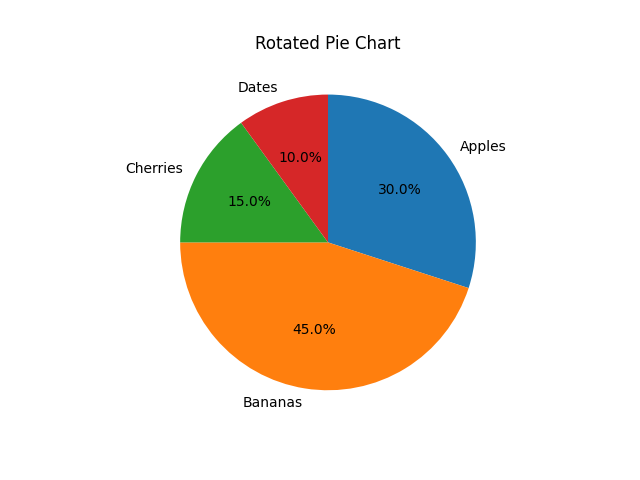
Add shadows
import matplotlib.pyplot as pltsizes = [30, 45, 15, 10]labels = ['Apples', 'Bananas', 'Cherries', 'Dates']plt.pie(sizes, labels=labels, autopct='%1.1f%%', shadow=True)plt.title("Pie Chart with Shadow")plt.show()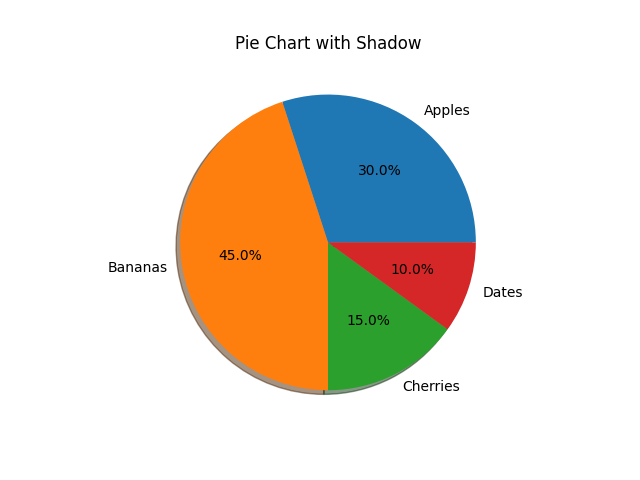
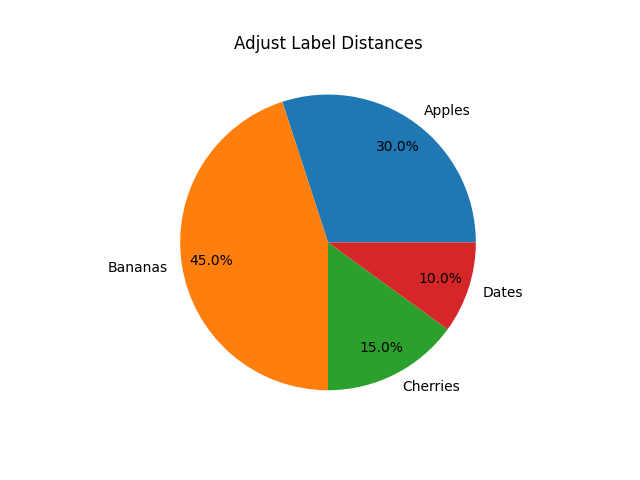
Label and percentage distance
import matplotlib.pyplot as pltsizes = [30, 45, 15, 10]labels = ['Apples', 'Bananas', 'Cherries', 'Dates']plt.pie( sizes, labels=labels, autopct='%1.1f%%', labeldistance=1.1, pctdistance=0.8)plt.title("Adjust Label Distances")plt.show()labeldistance→ distance of labels from centrepctdistance→ distance of percentage text from centre
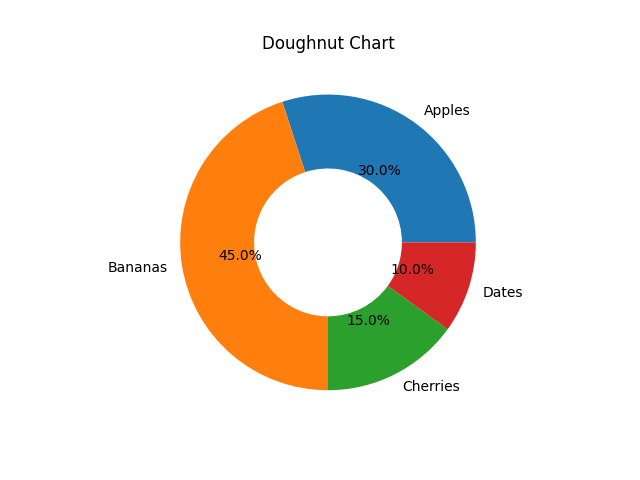
Doughnut (ring) chart
A doughnut chart is just a pie chart with a “hole” cut out using wedgeprops:
import matplotlib.pyplot as pltsizes = [30, 45, 15, 10]labels = ['Apples', 'Bananas', 'Cherries', 'Dates']plt.pie(sizes, labels=labels, autopct='%1.1f%%', wedgeprops={'width': 0.5})plt.title("Doughnut Chart")plt.show()You can even nest multiple rings (multi-level doughnut charts) using multiple plt.pie() calls.
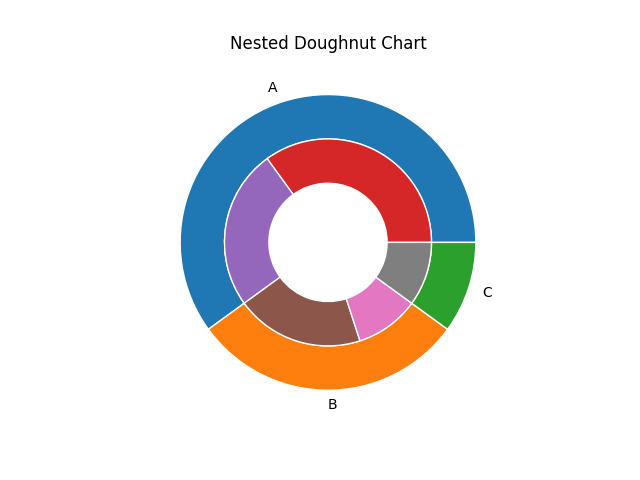
Multiple (nested) pies example
import matplotlib.pyplot as pltgroup_sizes = [60, 30, 10]subgroup_sizes = [35, 25, 20, 10, 10]# Outer ringplt.pie(group_sizes, radius=1, labels=['A','B','C'], wedgeprops=dict(width=0.3, edgecolor='w'))# Inner ringplt.pie(subgroup_sizes, radius=0.7, wedgeprops=dict(width=0.3, edgecolor='w'))plt.title("Nested Doughnut Chart")plt.show()