Images - how to work with them
Docker - Overview and how to use it
5 min read
Published Jul 13 2025
Guide Sections
Guide Comments
Listing images
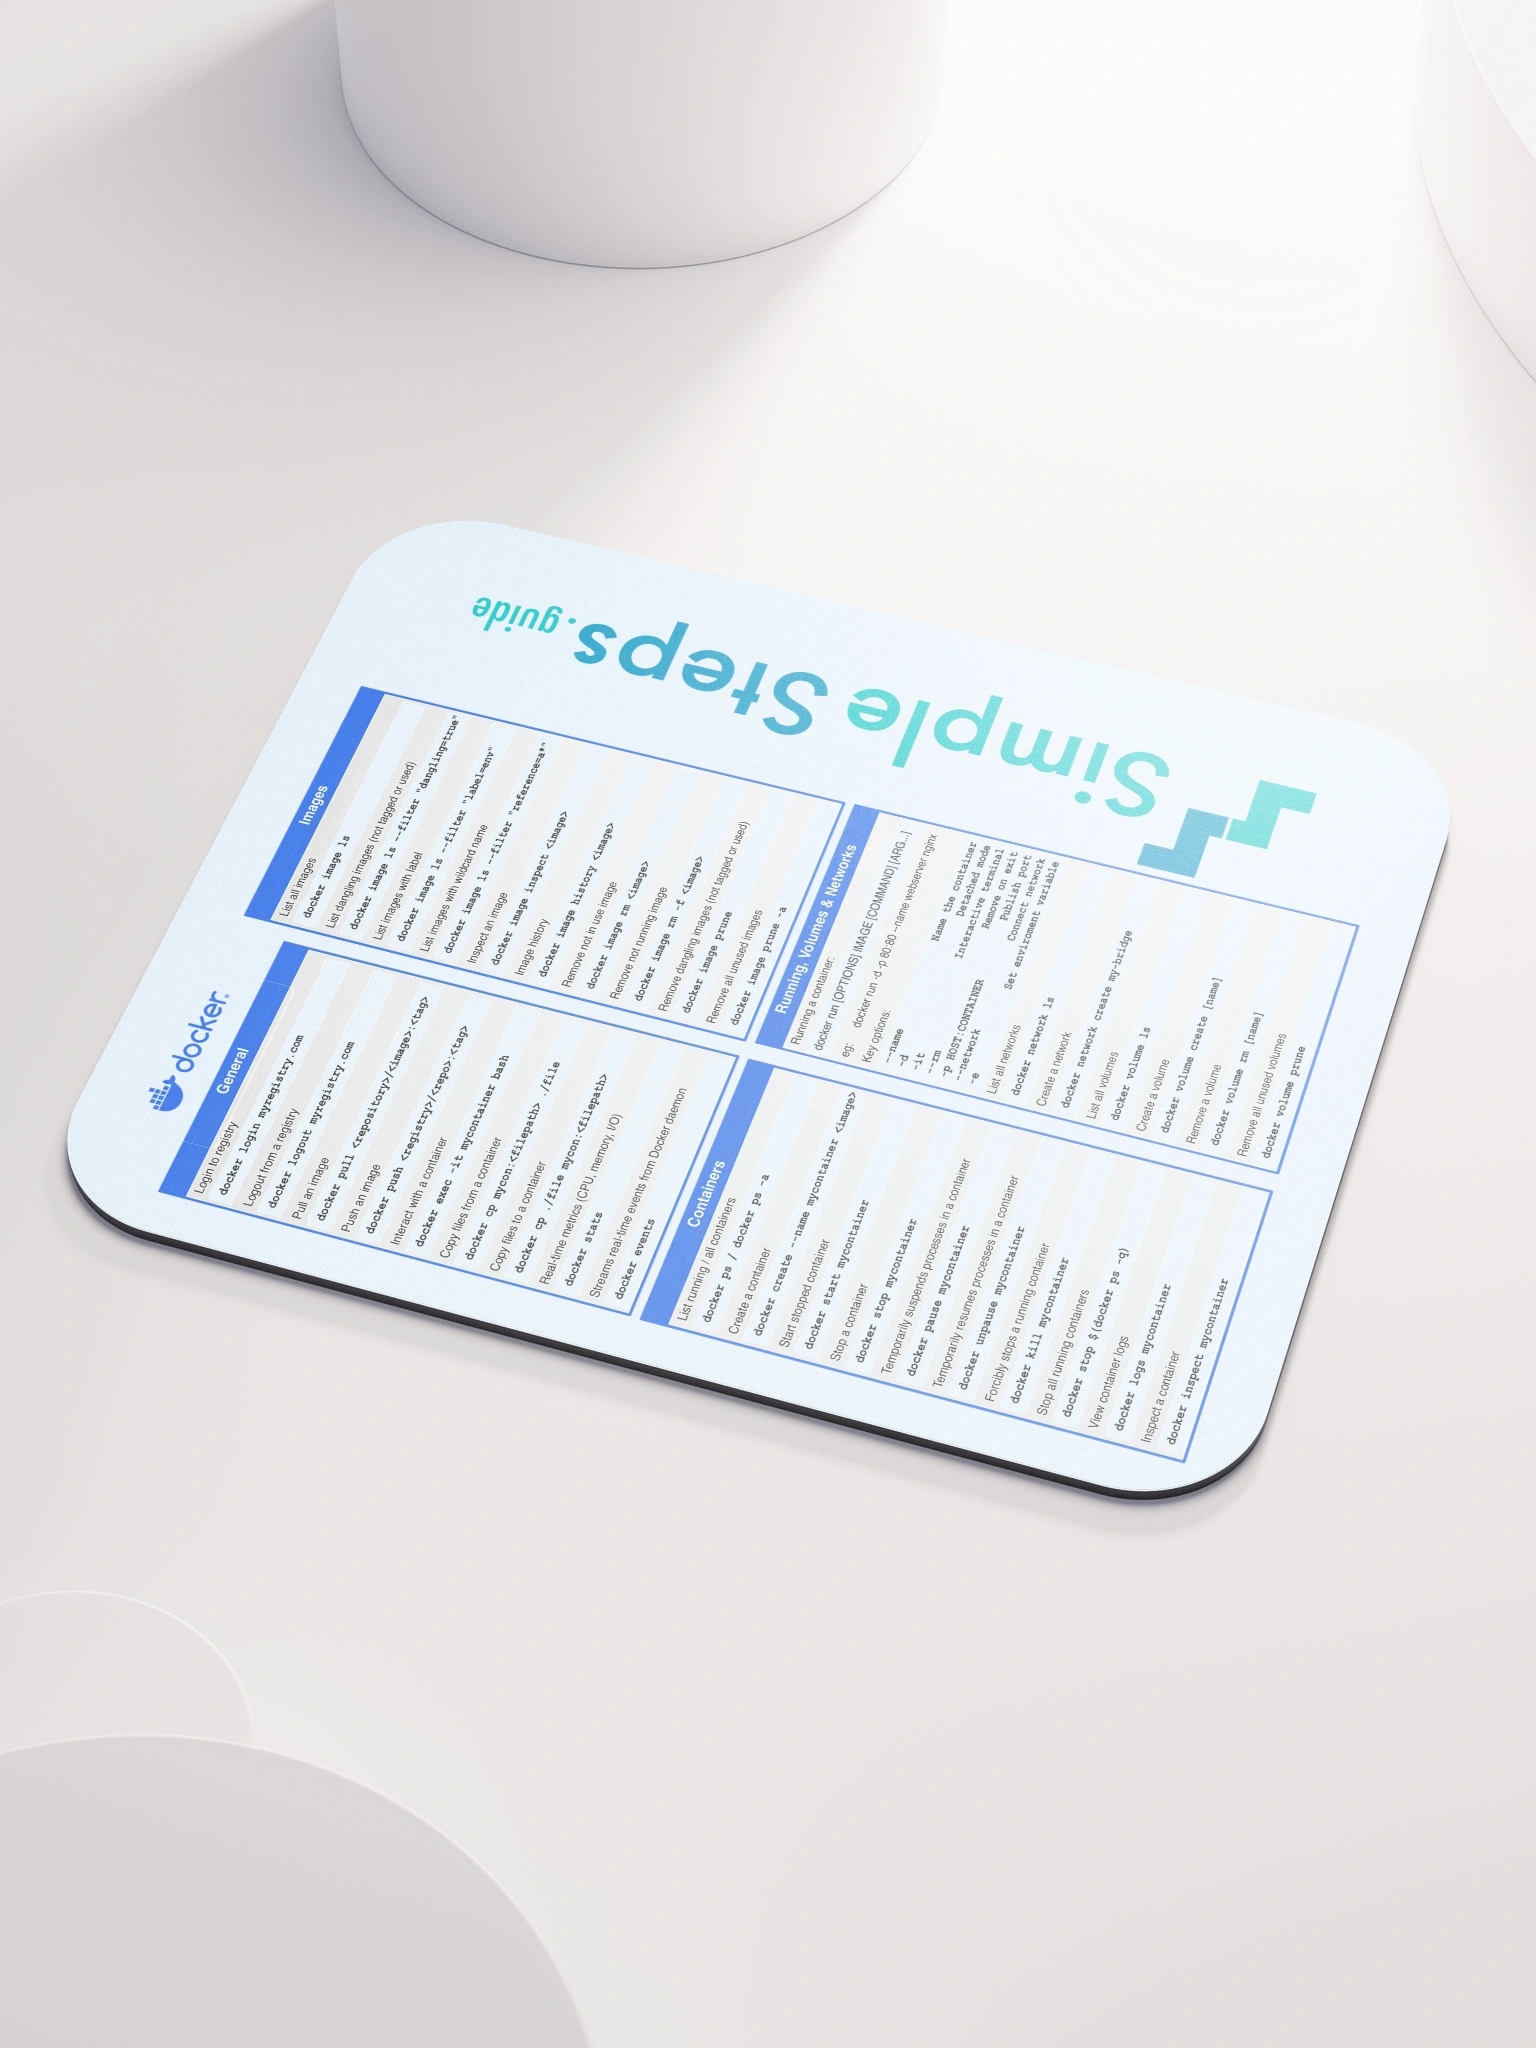
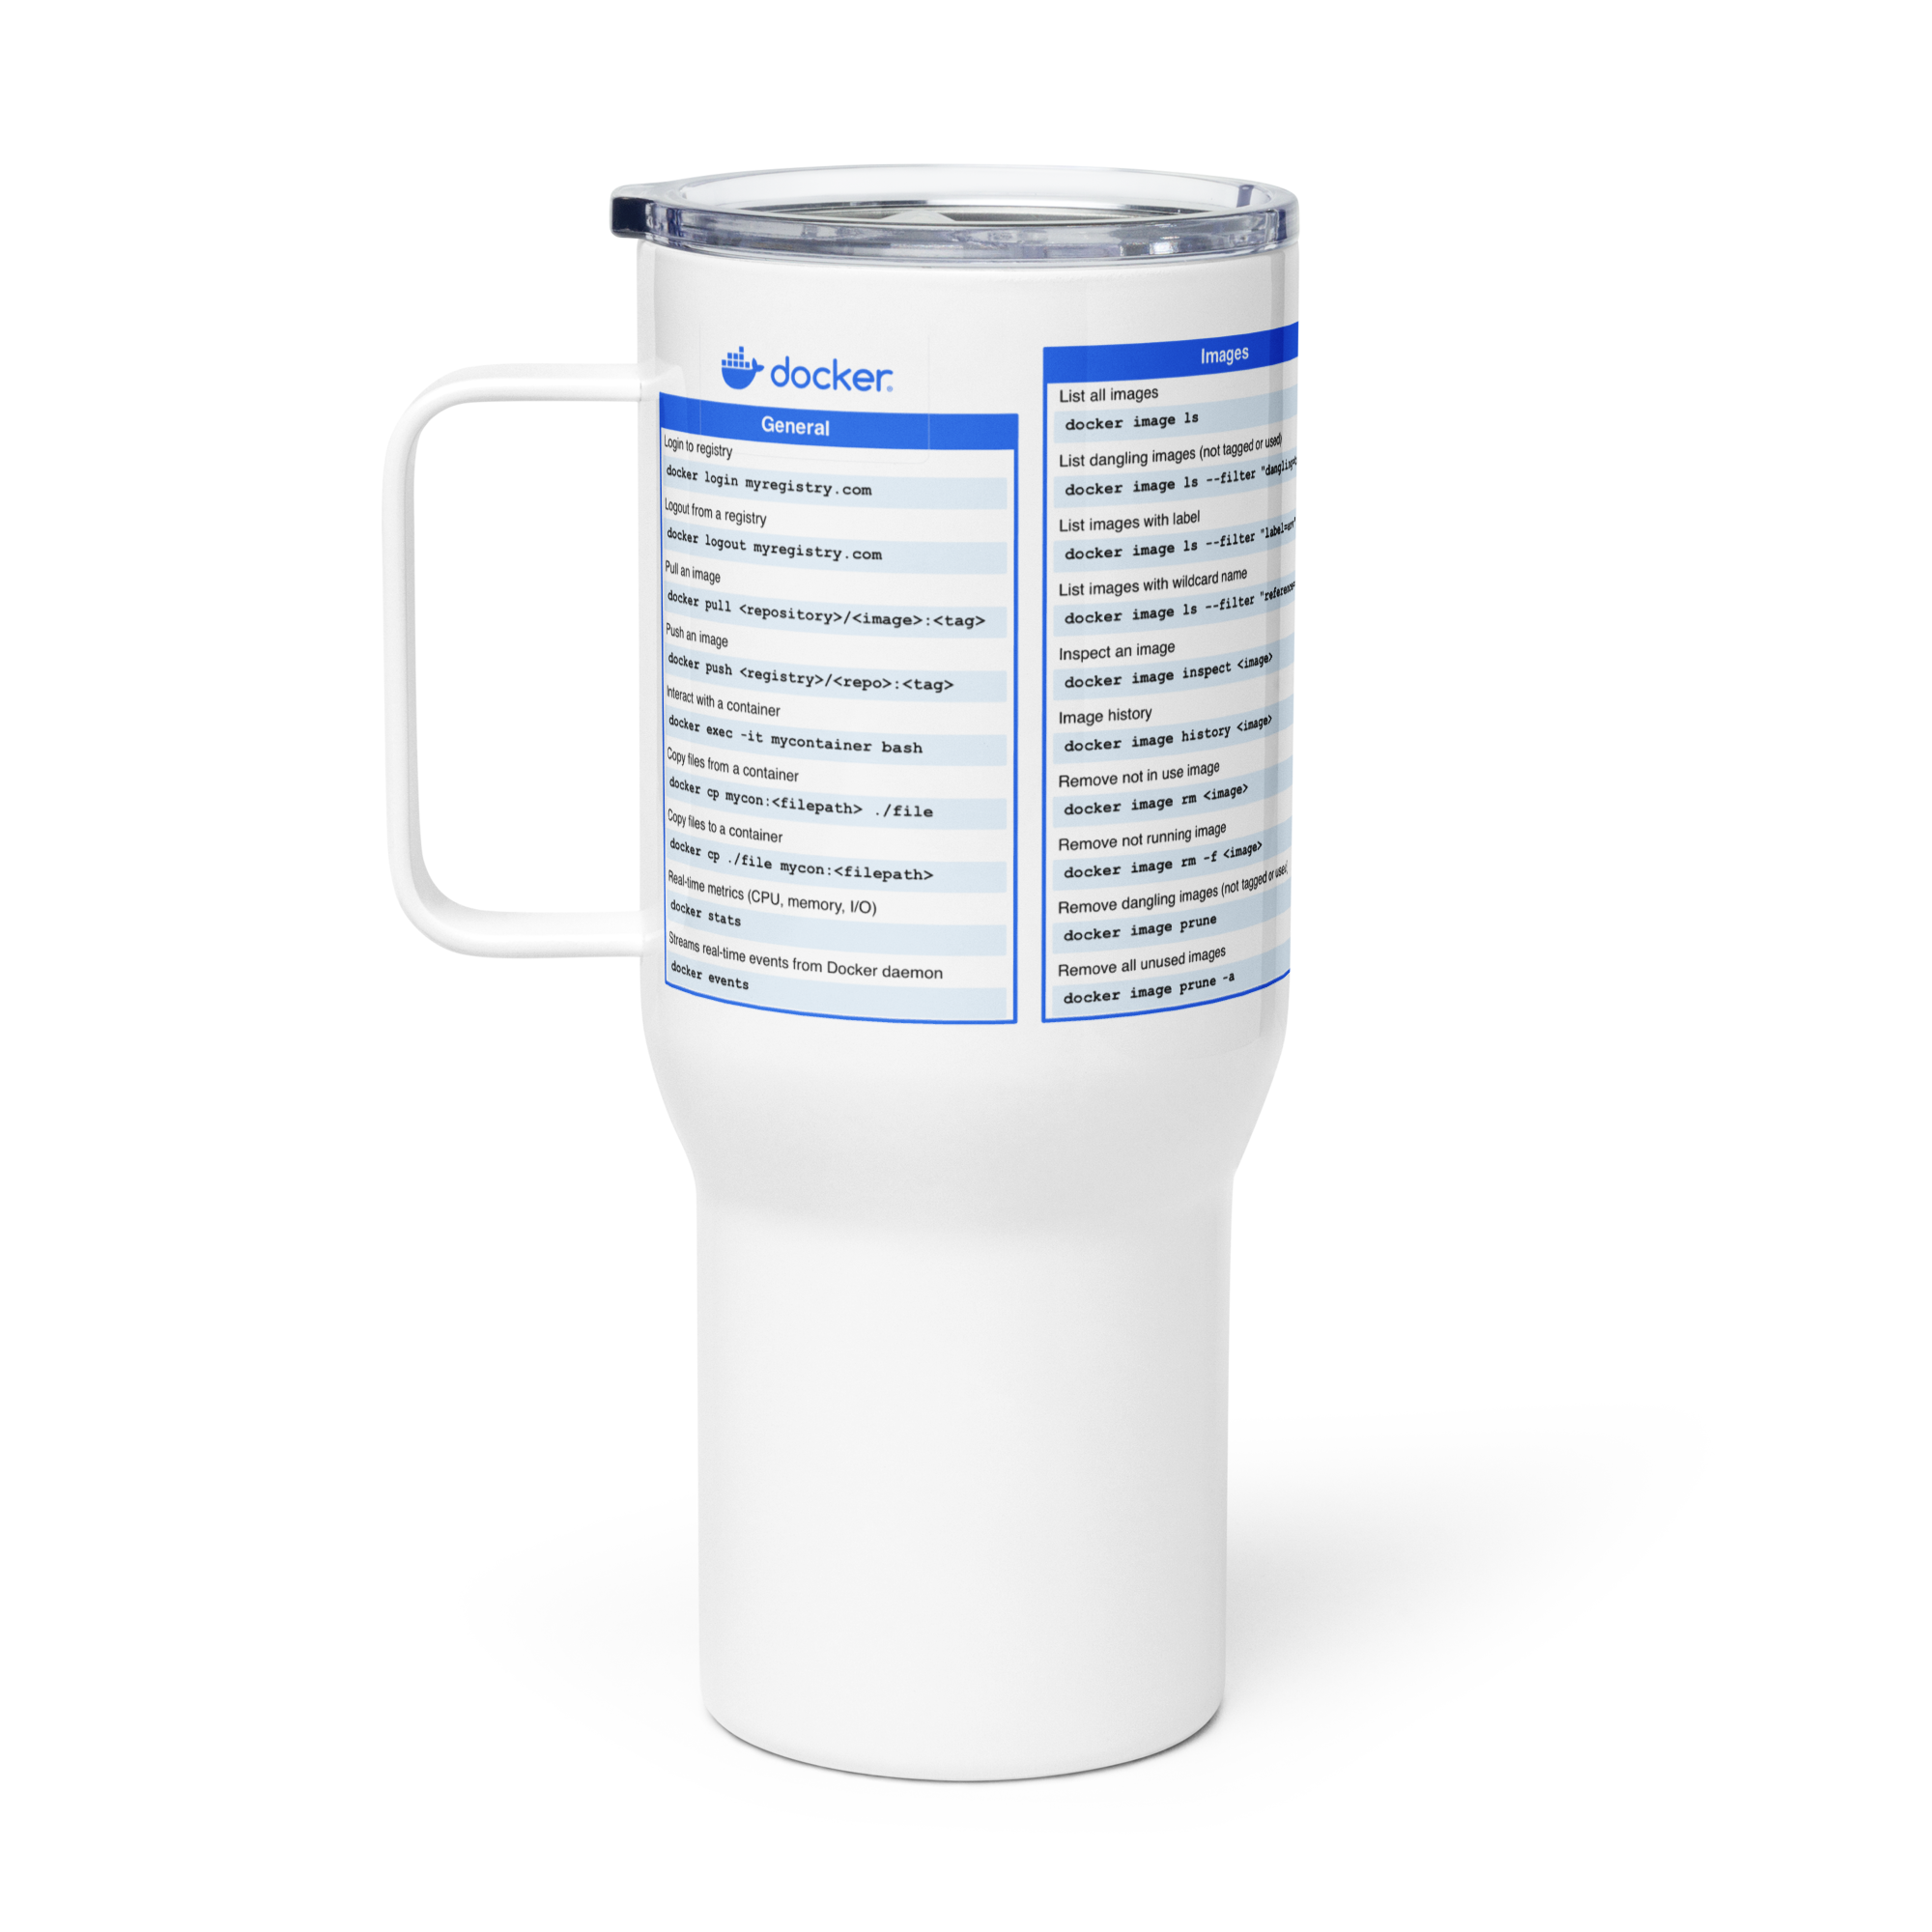
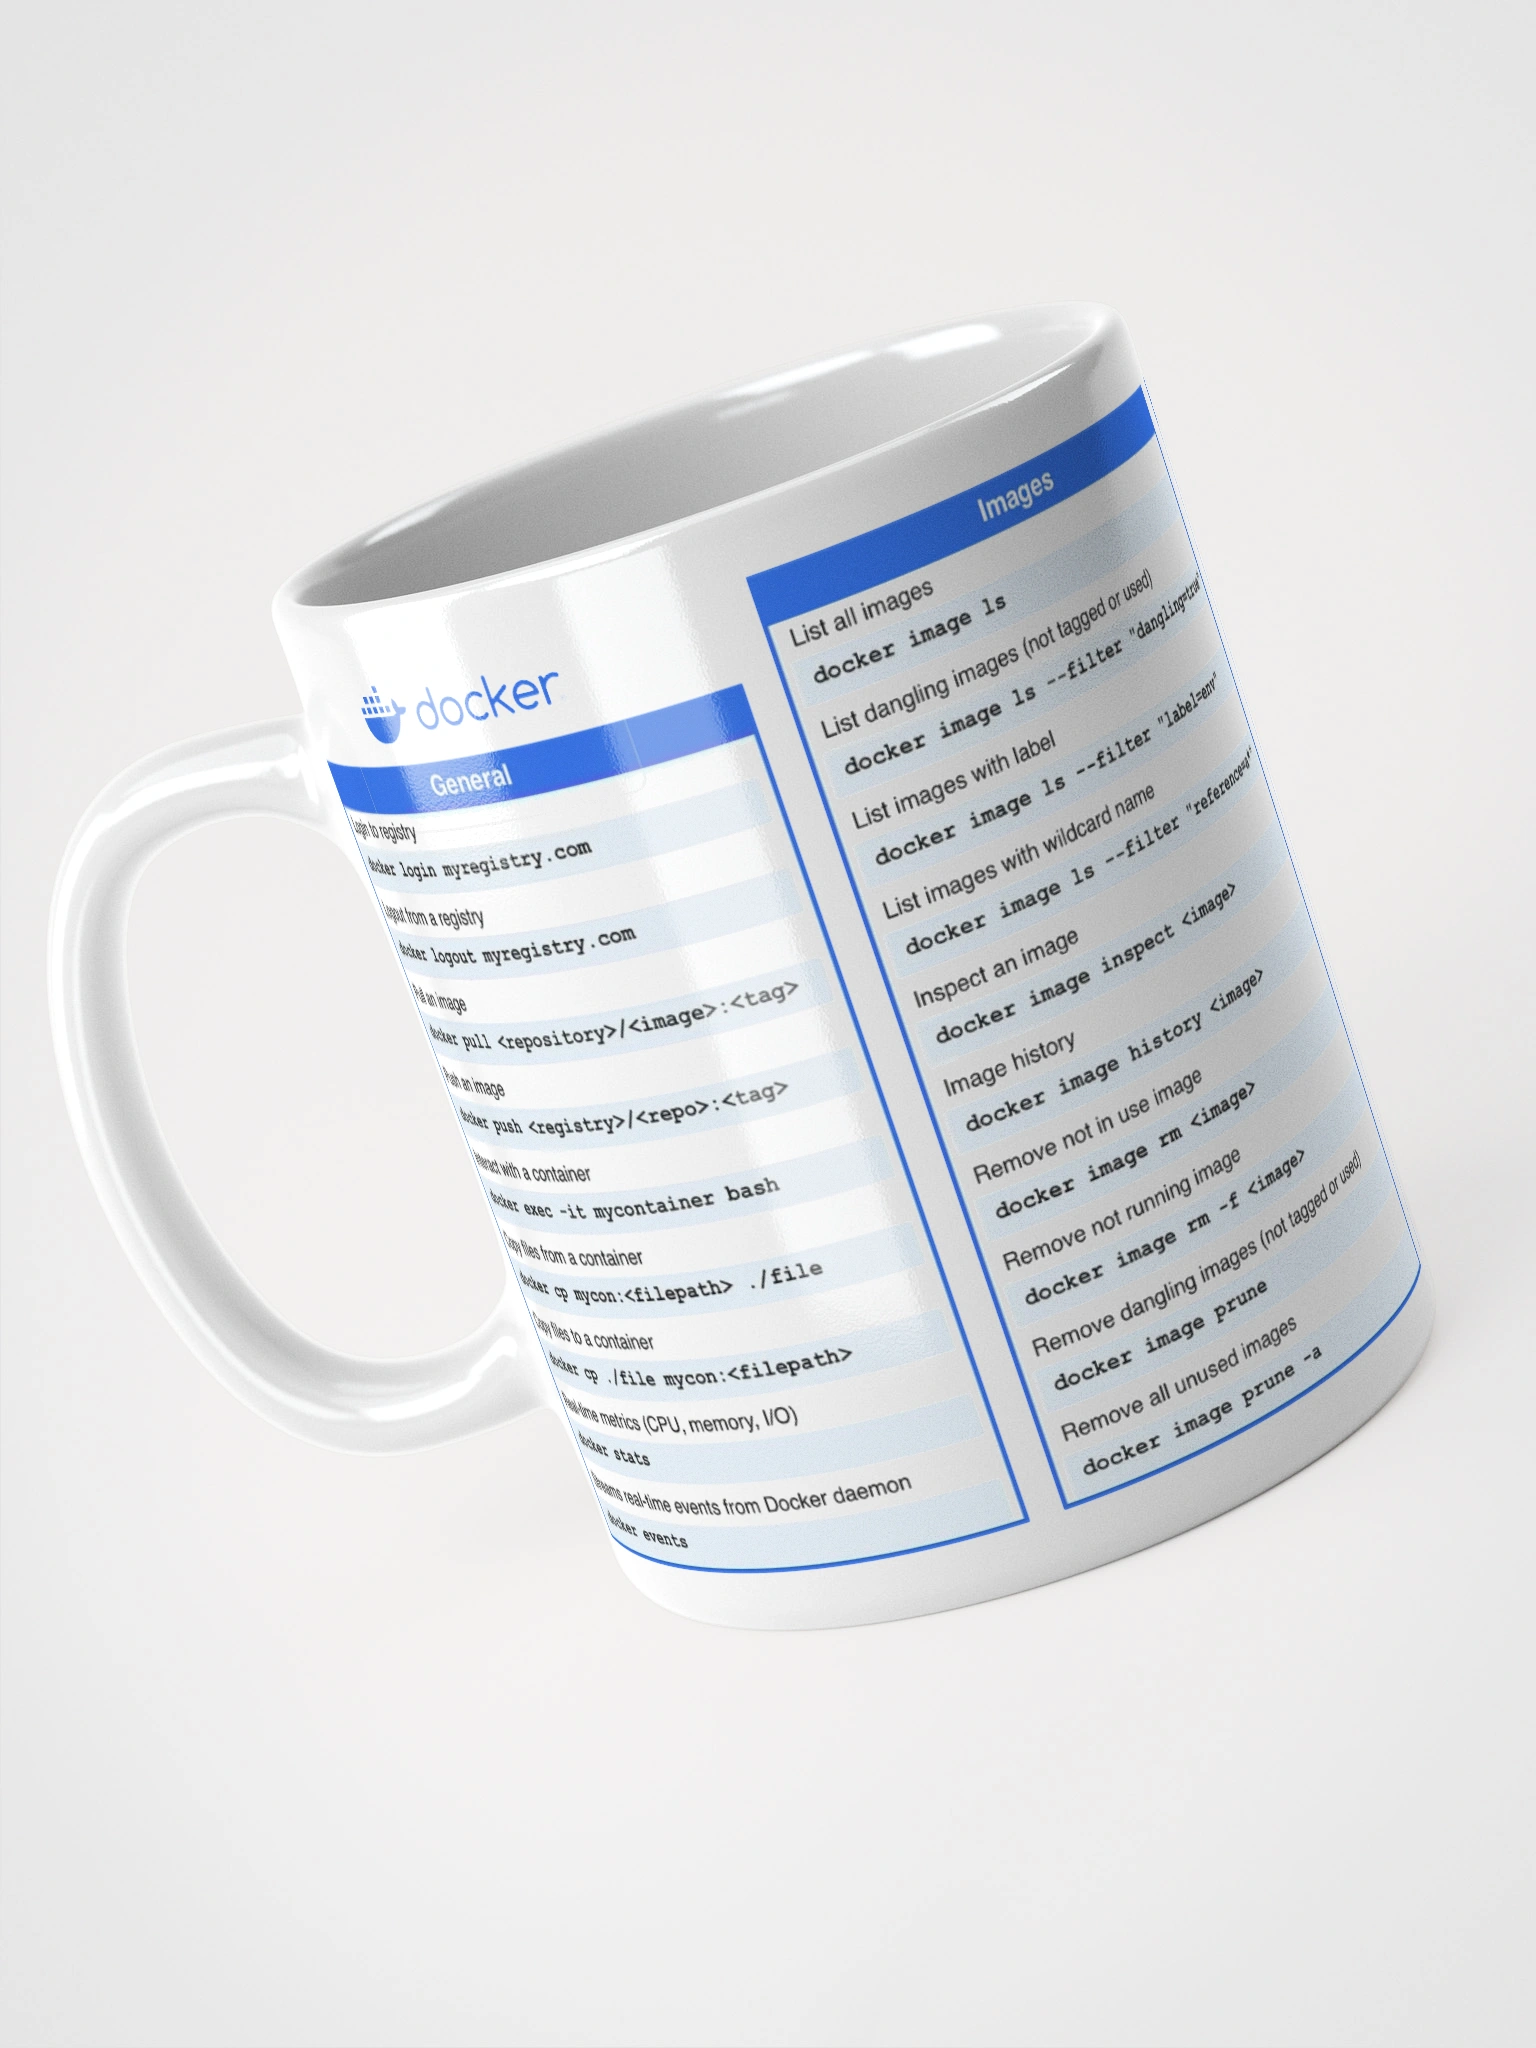
Lists all images available on the local system.
This returns a list with the following columns:
- Repository - The images name.
- Tag - The images tag.
- Image ID - Internal reference ID for the image.
- Created - How long ago was the image created.
- Size - How much storage space does the image take up.
Lists all images available on the local system and all intermediate images too. You can also use --all instead of -a.
To filter the results returned you can use the --filter option
Some examples of different filters:
Filters for dangling images, which are images not tagged or referenced by any container. These often appear after builds, have no tag and usually safe to delete.
Filter for images with a label of env=production. (Labels can be added when building an image).
Filters for images with a label that has a key of env, ignoring the keys value.
Filters for all images built before a specific image, which can be useful for cleaning up older images.
Opposite of before. Shows images built after the given image.
Filters image names using wildcards, this shows all images with names that start with myapp.
Inspecting images
Show low-level metadata (JSON) about an image:
This will give you the metadata for the specified image, you can also use the imageId that is out put with the list command instead of the name:tag.
eg. both these lines do the same thing on my machine:
When you use docker image inspect, it returns a large JSON object with a lot of technical metadata about the image. This can be overwhelming to read in raw format. To make it more human-friendly, you can extract specific fields using Go template syntax:
Returns just the architecture value, eg. amd64.
Returns both the tag and the image size, eg. [nginx:latest] 14000000
Returns specific values formatted with keys for each one.
You can also pipe the response to the jq shell command to format it that way. eg:
Will output "amd64"
Will output:
Common fields you might use:
.Id– The image ID.RepoTags– Tag names for the image.Architecture– CPU architecture.Os– Operating system.RootFS.Layers– All layers of the image.Config.Env– Environment variables.Config.Entrypoint/.Config.Cmd– Entrypoint/command
Image history
You can refer to the image with imagename:tag or the imageId:
This shows:
- The image’s layers
- Which commands created them (like
RUN,COPY, etc.) - When each layer was created
- The size of each layer
- Whether a layer is cached, inherited, or manual
Example:
Might return something like:
The columns returned are:
- IMAGE - Layer ID (or
<missing>if merged or inherited). - CREATED - When the layer was added.
- CREATED BY - Dockerfile instruction or shell command used to make the layer.
- SIZE - Size of the layer.
- COMMENT - Rarely used; sometimes includes system comments (e.g.,
buildkit)
It is useful to see if an image has unexpected behaviour (e.g., slow startup, big size), history helps you see what added which content. eg. You might notice one RUN command caused a 300MB increase which is a clue to refactor your Dockerfile. You can reverse-engineer the Dockerfile from the history output — especially if you don’t have the original Dockerfile.
You can filter out specific values by using the --format option:
Or make the output more readable by doing something like:
Note:
- Layers may show
<missing>in theIMAGEcolumn if they were squashed or not stored separately. - The base image (
FROM) typically appears as the bottom layer. - History does not include files themselves — only the commands and metadata.
Tagging images
You can add new tags to images by calling:
Deleting images
These commands below delete the local copy of the image, they don't change the one stored in the repository.
You can remove an image if it is not in use in a container (including stopped containers) by calling:
If any container is using that image then the command will fail and give an error message.
You can force the removal of an image that is being used by a stopped container by calling with the -f or --force option:
This will still fail if the image is being used by an active container though, it only forces stopped container image removals.
Delete unused/dangling images (those not tagged or used):
Add -a option to remove all unused images, even tagged ones not in use:
Pulling an image
The pull command fetches images from a container registry and stores a local copy. It pulls each layer down, unless it has a copy of a particular layer with the same hash already.
So for example, to pull the latest Nginx image:
Docker assumes:
- Registry: Docker Hub (
registry-1.docker.io) - public image and on Docker Hub so no login required. - Repository:
library/nginx - Tag:
latest
So it's effectively:
If you are not getting the image from the Docker Hub, you would need to enter the full repository domain as part of the image name and have logged in first:
Logs in to your repository, and will ask you for username and password.
Then when you are logged in you can pull the image, you reference the image with the full path.
One finished you, you can log out.
If pulling fails then you can ask for more verbose information:
Pushing an image
You use push to upload an image to a container registry.
You need to log in to the registry first, and have the correct permissions, before you can push an image.
Saving and loading images zipped as tar files
You can export and import images as tarballs:
Will save the image as a file.
Will load an image from a file.
